Now, I think you have at least Docker installed on your machine and know about Vite + React. Obviously, you know otherwise why a random person suddenly wants to containerize a Vite application, LOL! Anyways, Let's Start.
To Chaliye Shuru Karte Hae😊
Preparation-
So, you need a Vite Application which you can create by running these commands.
npm create vite@latest .
npm install
After that, Turn on your Engine. DOCKER-ENGINE 🥲 Then we need to create a Dockerfile in the root folder of your project. Wait, Do you know about Dockerfile? If No, reach out to me on Twitter.
Exam-
So far we created a Vite + React App and turned on the engine. Now it's time to create a dockerfile to create an image of our project. Wow, an Image without a camera. Interesting, Isn't It?
#Dockerfile

FROM mhart/alpine-node

WORKDIR /usr/src/app

COPY package* .

RUN npm install

COPY . .

EXPOSE 5173

CMD ["npm", "run", "dev"]
An extra effort here is that we also have to modify the vite.config.js file to expose the port correctly. Add these configurations to your file and that's it.
export default defineConfig({
  base: "/",
  plugins: [react()],
  server: {
    watch: {
      usePolling: true,
    },
    host: true,
    strictPort: true,
    port: 5173,
  }
 });
- Make sure you also create a
.dockerignorefile and writenode_modulesin it. It's just similar to the.gitignorefile.
Result-
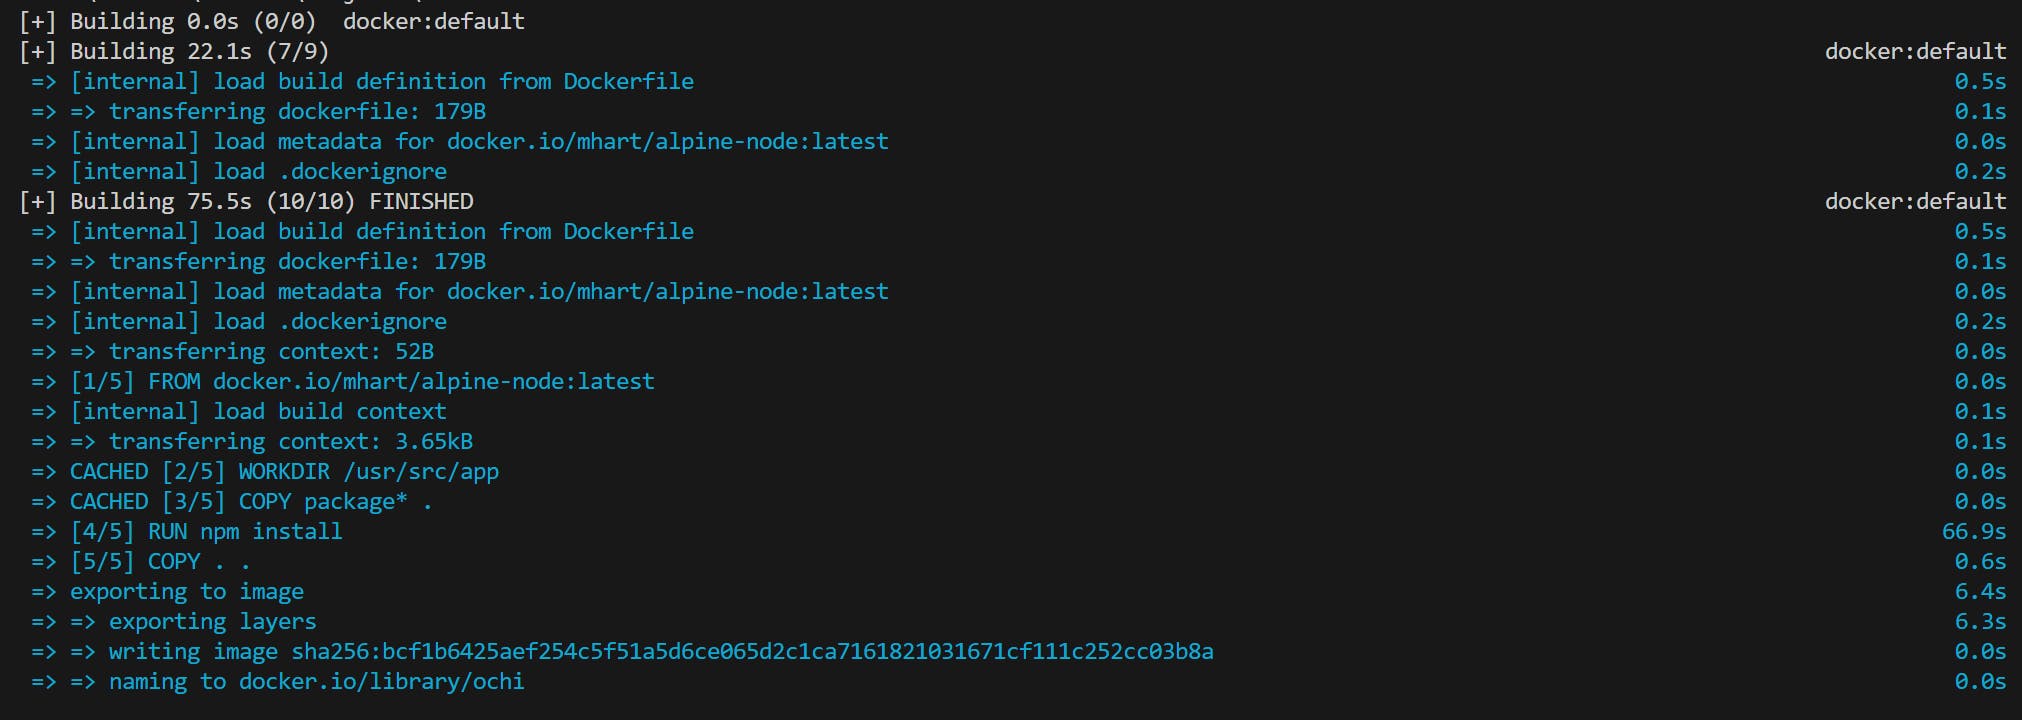
Now, we are good to go for creating an image. So, utha lo hathiyar 🗡️ and akraman!
I mean open your terminal and run the commands -
docker build . -t <tag_name>This will create an image with the tag_name you give.
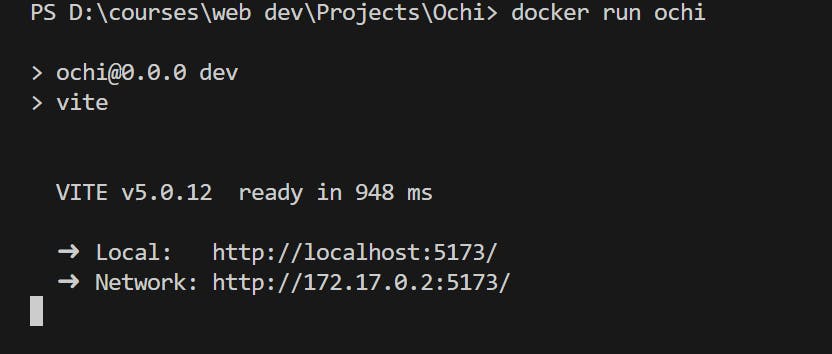
docker run -p 5173:5173 <tag_name>This will run the image you just created and expose the port to your machine.
Finally, your application is running inside the container💥
Now visit the http://localhost:5173/ and your application will be visible.

And We Win 🌻
So, that's all for today's People. Let's meet on another day.
If you have any suggestions then drop them in the comments and you can also find me on LinkedIn
Radhe Radhe 🌸

